
Compare dry and wet output in Tone Forge
An output effect can change a patch's sense of space while leaving the oscillator and modulation graph available for inspection. Tone Forge puts this processing in a serial strip below the graph. This exercise adds reverb to an audible patch, compares it with the dry reference, and uses the stereo output monitor to check the result.
Decide which sound you are trying to keep
Load an included sound or build a small oscillator, filter and output path. Select the filter and confirm that the basic timbre is the one you want. Play a short note and leave a pause after you release it. For a percussive sound, use a short repeating rhythm with a clear gap. For a sustained pad, hold a note for several beats and listen to its release. You will use the same phrase at each stage.
The filter walkthrough ends by opening the effect choices under the graph. The graph view above it stays available, so you can check what the patch is sending into the effects chain. If you are working with a long modulation envelope, listen to the dry release once before adding reverb. This makes the tail of the synthesis voice easier to identify afterward.
Add a reverb block to the output lane
Under Output effects, choose Add effect and select Reverb. The new block sits between the synth input and main output. Select the reverb block to view its controls. Adjust the mix and decay in small steps while playing the same phrase. Begin with a short decay and a modest effect level so that the original note attacks are still easy to hear.
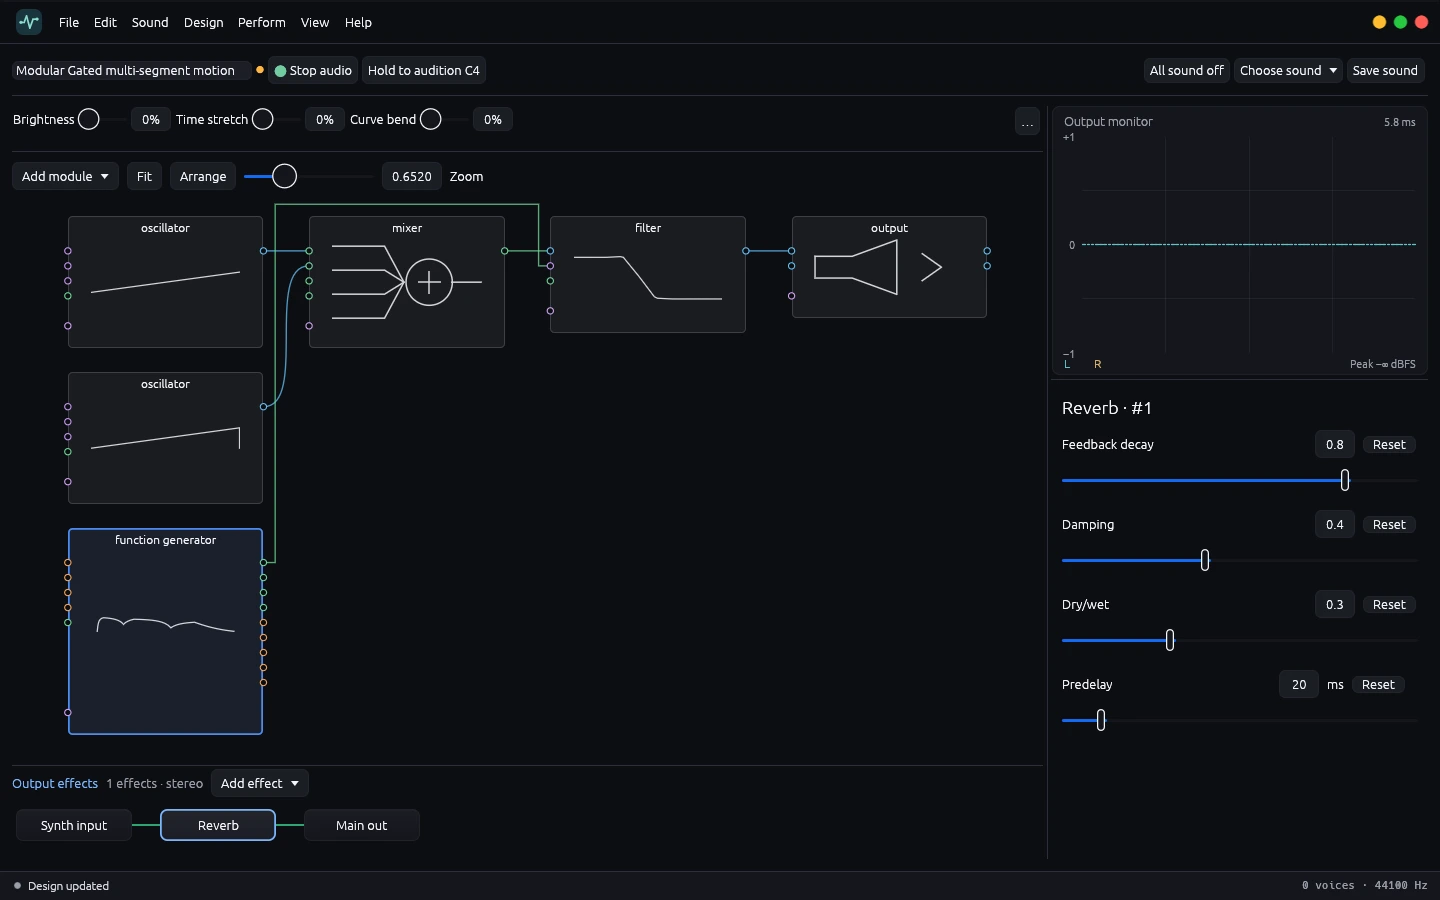
Play a short C4 and release it. Listen through the pause after the key is released. The reverb tail is easiest to hear after the direct attack and release have passed. For a bass patch, bright low-end reflections can make adjacent notes seem less distinct. For a pad, a longer decay can let adjacent notes join smoothly. Select a decay that suits the space between the notes in your own phrase.
Compare with bypass at a similar playback level
Play the phrase dry with the effect bypassed, then enable it and replay. Use the same pitch, note length and listening volume. Compare the note attack, the length of the audible tail, and whether separate notes remain distinct. A louder setting can draw attention on its own, so use the output monitor and a comfortable volume when comparing. Keep playback levels close enough to focus on the effect's texture.
If you want to compare two amounts of reverb, write down the first mix and decay settings. Change just the mix, listen again, then return to the first setting. Repeat the exercise with the decay setting while the mix stays fixed. Keep a few seconds of pause between trials so that the previous tail has finished.
Try ordering once you have a reference
With one reverb and a clean reference, add another lightweight effect such as an equalizer if the patch needs shaping. The order affects what goes into the reverb. An equalizer upstream can change the frequencies that excite the tail. An equalizer downstream changes the combined result after the reverb. Move the effects in the serial chain and compare using the same phrase. Read the graph and strip together to verify the order before judging the playback.
Keep a version for the next session
Record the effect order, rough effect amount and decay that worked. Also capture the test note or phrase you used. This lets you check a saved sound again after opening a different project or changing an oscillator. You can audition and edit effects in the Community editor. Save and load your own sound files with a valid license. Return to the Tone Forge guides for the next routing or listening exercise.